Website multi-language with Jekyll
Jesús Hernández Gormaz
30 Sep 2017
technology, computer-science
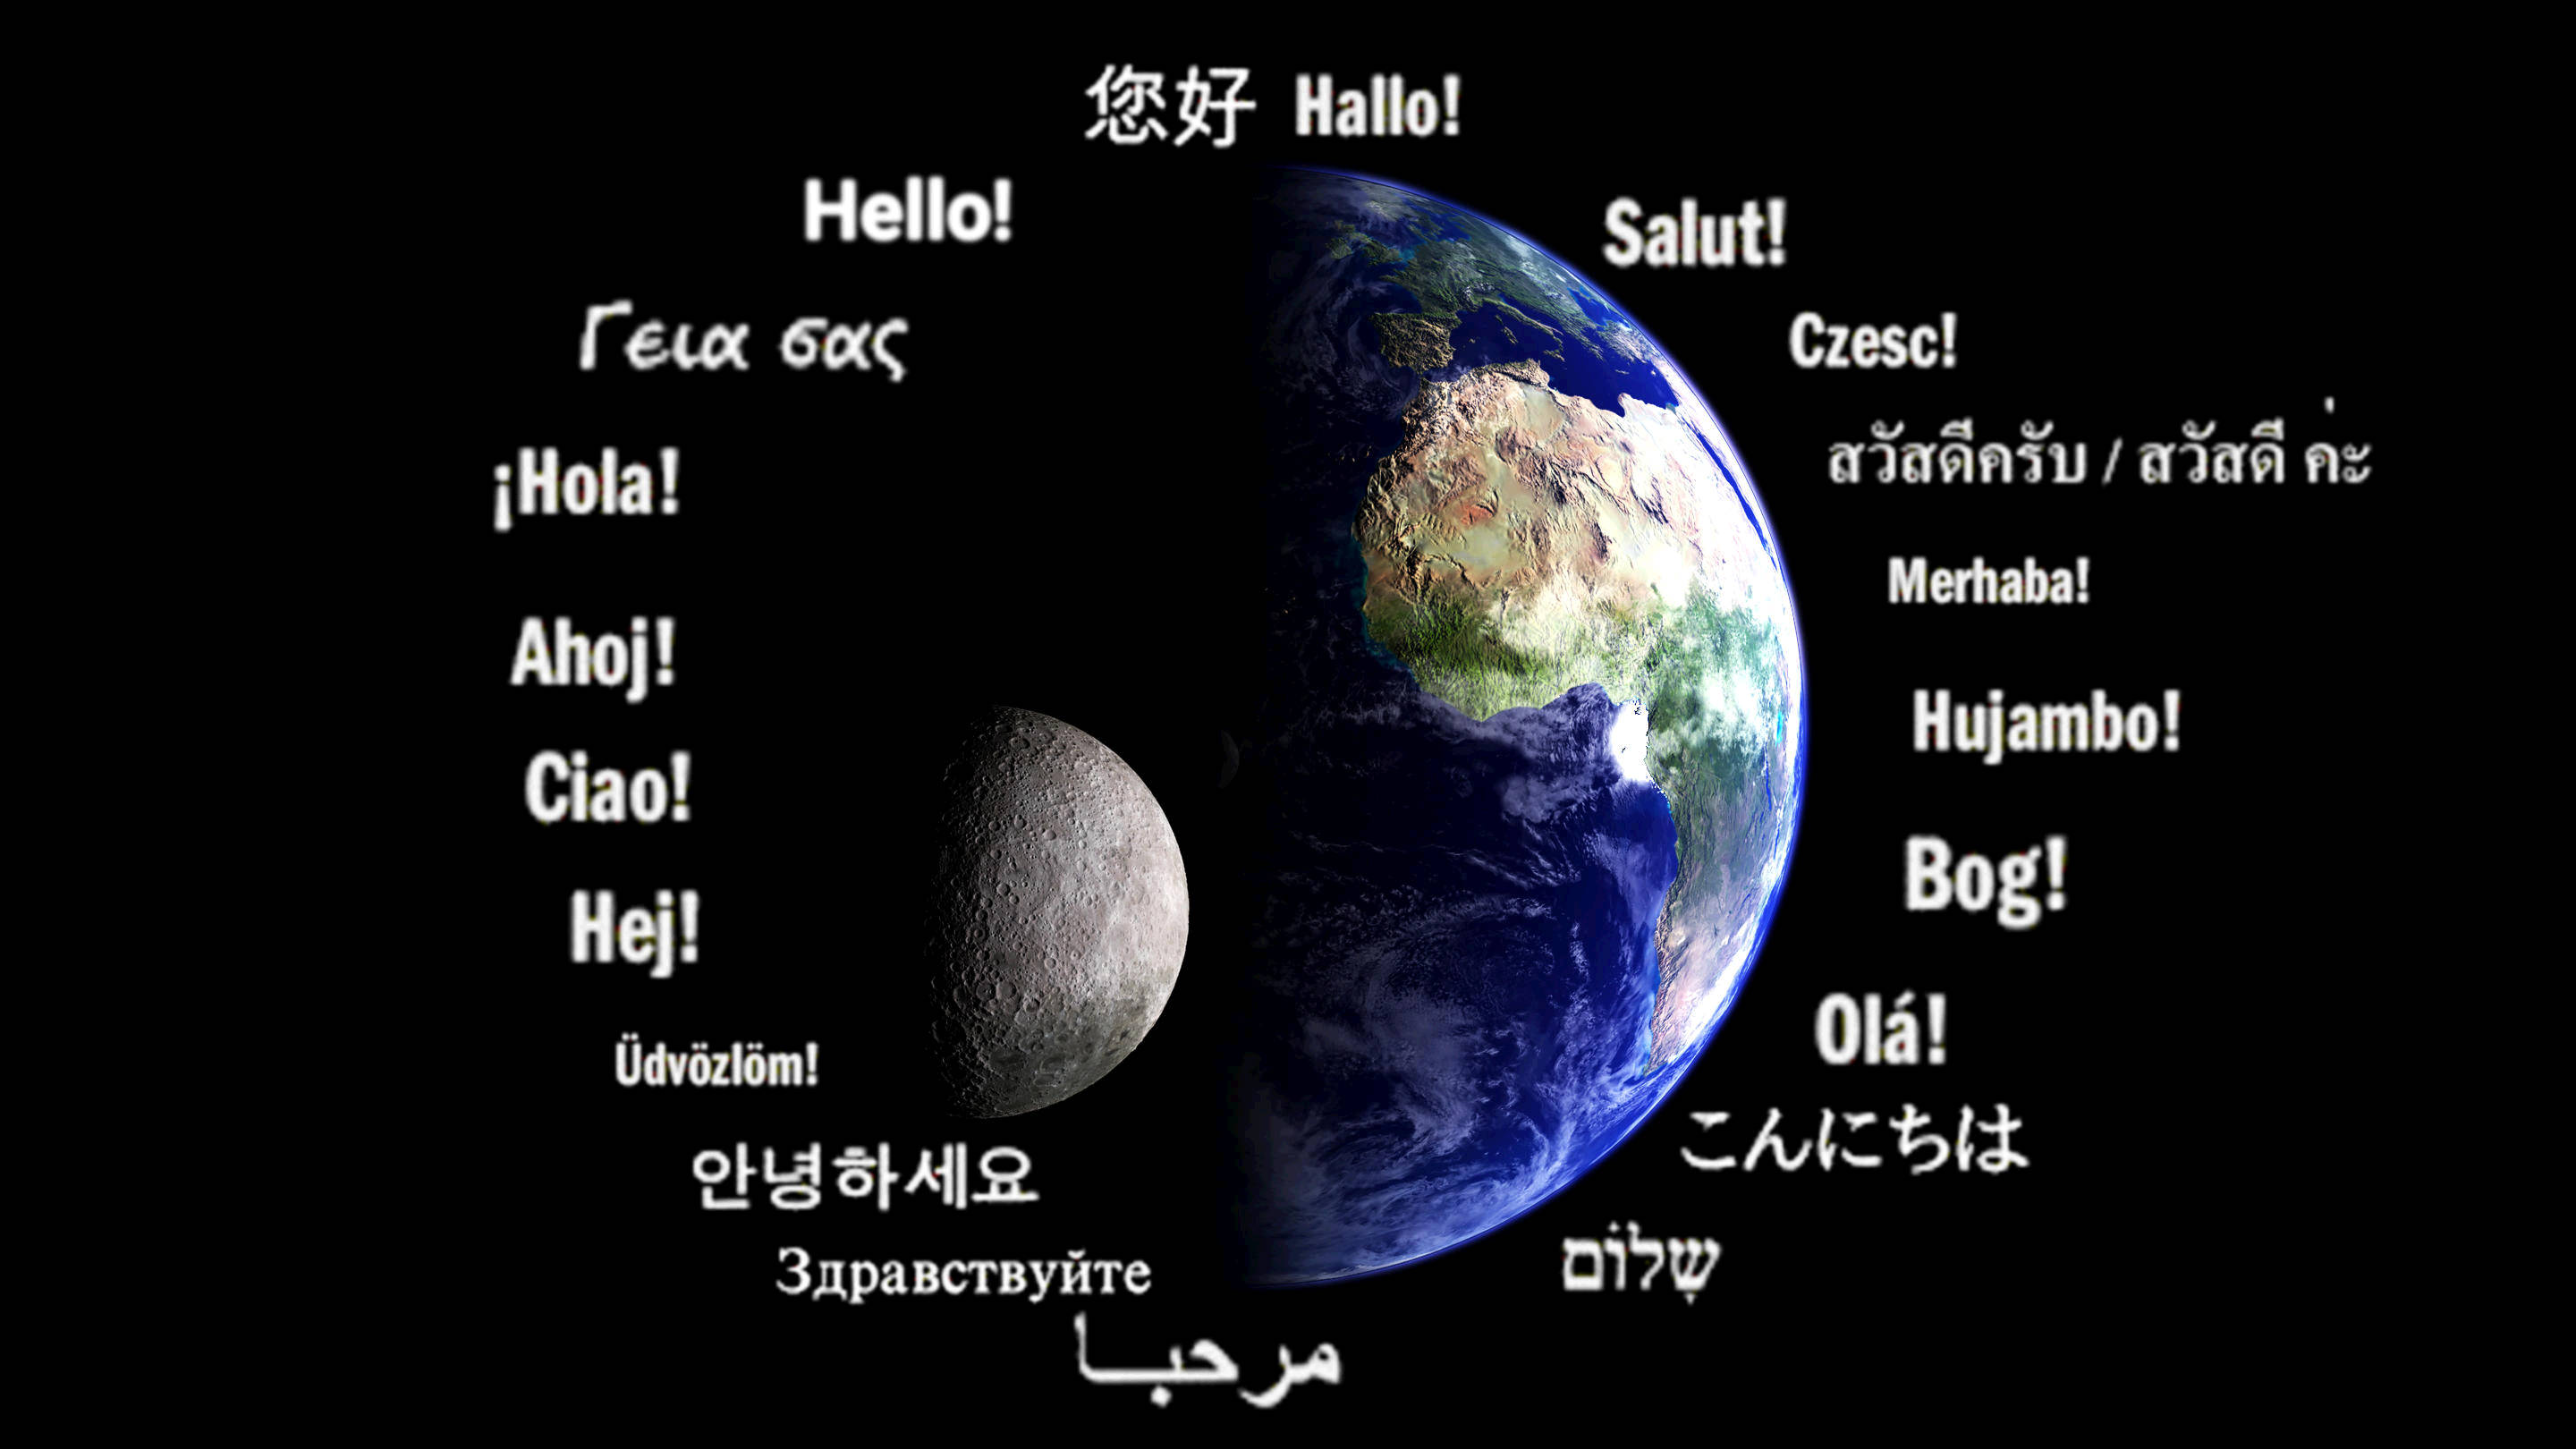
The reasons to use Jekyll are, in sumary: it does what I need at this time and it’s fast to implement. The multi-language support was necessary, in my previous blog I had visits from Spain, and also fom: Germany, United States, Mexico, etc. That’s why in this post I will explain why I have used Jekyll and GitHub Pages, and how to do a multi-language website with Jekyll.
¿Why Jekyll? ¿Why static?
I don’t need server-side functionality yet, what I need can be done with a static web. Of course when I need a dynamic web, API, etc; Jekyll is not enough, and I have ideas in development for that time.
Markdown to write the posts
If someday I need to import the posts, they are in markdown format with front matter, it would be easy. Besides, I don’t need to pay the hosting using GitHub Pages free.
How does Jekyll work?
Jekyll generates the website and the renderized result is served. With GitHub Pages, it builds the website automatically when there is new changes in the master branch of the repository.
I won’t to explain everything because it’s in the Jekyll’s documentation. You can look the source code in the repository of my website in GitHub.
Building a static website multi-language
Because it’s static, each version of a post or page will be an HTML document.
We haven’t server-side functionality to serve each language in the same URL
using the query string or the header. We’ll need to use the link tag
to link the alternative documents with the translation and hyperlinks.
Values lang and ref
The trick is simple. With the values in the front matter YAML
for each post and page to be marked with lang and ref.
---
layout: post
lang: es
ref: 0
miniature: /assets/posts/0/miniature.jpg
title: Sitio web multi-idioma con Jekyll
---
Index by language
In that way it’s easy to build a posts’ index filtering by language:
## {{ include.header }}
{% assign posts=site.posts | where:"lang", page.lang %}
{% for post in posts %}
### [{{ post.title }}]({{ post.url | prepend: site.url }})
{%- if post.miniature -%}

{% endif %}
{{ post.excerpt }}
[{{ include.text-more }}]({{ post.url | prepend: site.url }})
{% else %}
{{ include.text-else }}
{% endfor %}
I wrote the index in an include to include it in the index of each language. The text when there are not posts is customized for each index. For the pages the idea is same.
Link translated versions
In the layout default.html we generate the links to the translated
versions:
<head>

  {% assign posts=site.posts | where:"ref", page.ref | where_exp: "post", "post.lang != page.lang" | sort: 'lang' %}
  {% for post in posts %}
    <link rel="alternate" hreflang="{{ post.lang }}" href="{{ post.url | prepend: site.url }}" />
  {% endfor %}

  {% assign pages=site.pages | where:"ref", page.ref | where_exp: "translated-page", "translated-page.lang != page.lang" | sort: 'lang' %}
  {% for translated-page in pages %}
    <link rel="alternate" hreflang="{{ translated-page.lang }}" href="{{ translated-page.url | prepend: site.url }}" />
  {% endfor %}

</head>
Navigate between translated versions
So that the user can navigate between languages with hyperlinks in
the layouts page.html and post.html we’ll show the available languages:
<aside class="other-languages">
  {% assign posts=site.posts | where:"ref", page.ref | where_exp:"post", "post.lang != page.lang" | sort: 'lang' %}
  {% for post in posts %}
  {% assign post-href=post.url | prepend: site.url %}
  {% include link-lang.html href=post-href text=post.lang lang=post.lang %}
  {% endfor %}
</aside>
We can use this trick for all the pages in the website.
A blog without comments?
The blog needs comments, it seems we need server-side functionality. Not so fast, we could to use Disqus then we don’t need our own comments in the server-side.
In the layout post.html we’ll include the universal JavaScript code of
Disqus, with an if sentence to avoid to create a comment thread
when we launch the local development server:
<article lang="page.lang" itemprop="blogPost" itemscope="itemscope" itemtype="http://schema.org/BlogPosting">
  <header>
    <h1 itemprop="name headline">
      {{ page.title }}
    </h1>
  </header>
  <div itemprop="description postBody">
    <img src="{{ page.miniature }}" />
    {{ content }}
  </div>
</article>

{% if site.disqus and jekyll.environment == "production" %}
<div id="disqus_thread">
</div>
<script>
var disqus_config = function () {
  this.page.url = "{{ page.url | prepend: site.url }}";
  this.page.identifier = "{{ page.ref }}";
  this.page.title = "{{ page.title }}";
};
(function() {
  var d = document, s = d.createElement('script');
  s.src = 'https://{{ site.disqus.shortname }}.disqus.com/embed.js';
  s.setAttribute('data-timestamp', +new Date());
  (d.head || d.body).appendChild(s);
})();
</script>
<noscript>
  Please enable JavaScript to view the <a href="https://disqus.com/?ref_noscript">comments powered by Disqus.</a>
</noscript>
{% endif %}
Conclusion
When we only need a static website Jekyll is a great tool so useful, it avoids to duplicate code in many HTML documents. Also it gives us a way to use templates and markdown in the static webs development. Besides, with the tricks explained in this post we can build a website multi-language.
We’ll be able to write in multiple languages without gems, because we are limited to the GitHub Pages gems if we don’t want to use our own server.
I hope this post is useful for you. If you like this post, share it in your social networks, it could be useful for someone.
My ability speaking English is not native, sorry if I have made mistakes and I would like to receive feedback.